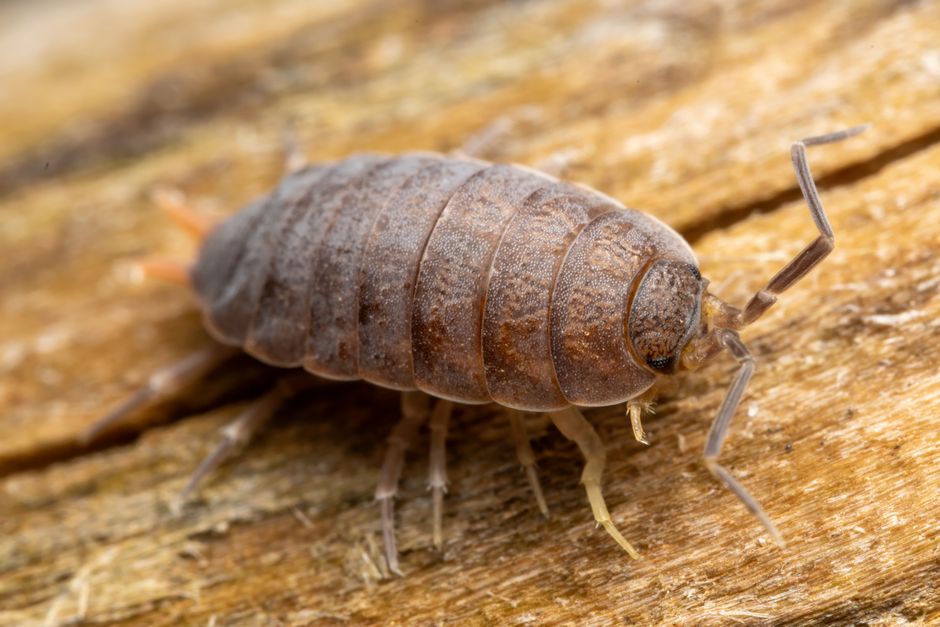
How to Start an Isopod Colony: Easy Beginner Guide
Isopods are quickly becoming some of the most popular small invertebrates in the exotic pet world. Whether you want a fascinating stand-alone pet or a natural cleanup crew for a bioactive terrarium, learning how to start an isopod colony is surprisingly easy. With just a few simple supplies, you can create a thriving habitat right on your shelf.
What Do You Need to Start an Isopod Colony?
Setting up a home for your new isopods does not require expensive equipment. In fact, most keeper supplies can be found around your house or at a local garden center. The main goal is to reproduce the damp forest floor environment where these little crustaceans thrive.
To start an isopod colony successfully, you need a shallow plastic storage tub or a small glass enclosure with adequate ventilation. The tub must have a tight lid to retain moisture while preventing escapes. You will also need a thick layer of organic substrate, plenty of dry leaf litter, cork bark, and a clean source of calcium.
Basic Isopod Setup Supplies
- A plastic tub or small terrarium with small ventilation holes drilled near the top.
- A deep substrate mix made of organic topsoil, coconut fiber, and sphagnum moss.
- A generous layer of pesticide free hardwood leaf litter like oak or maple.
- Pieces of cork bark or rotten wood to give isopods places to hide.
- A calcium source such as cuttlebone or crushed eggshells.
Leaf litter is not just decorative for your bin. It serves as the main food source for your isopods, so never let your setup run completely out of leaves. Mixing rotting wood pieces directly into the substrate also provides essential nutrients as the colony grows over time.
Which Isopod Species Is Best for Beginners?
Picking the right species makes your initial experience much smoother. Some isopods breed rapidly and tolerate wide environmental ranges, while rare species require strict temperature and humidity controls. Beginners should always stick with hardy species that forgive small mistakes.
Porcellio scaber and Porcellio laevis are two of the easiest species to keep. Porcellio laevis, especially the popular Dairy Cow variety, are active, fast breeding, and always visible during feeding time. If you prefer isopods that roll into neat little balls, Armadillidium vulgare or Armadillidium maculatum are wonderful, slow moving choices.
If you already enjoy tiny exotic pets like those mentioned in our Pet Praying Mantis Care guide, you will appreciate how active a healthy isopod bin can be. Starting with ten to fifteen individual isopods gives your culture enough genetic diversity to build a dense, healthy population within a few short months.
How Do You Set Up Proper Moisture and Ventilation?
Moisture management is the single most important factor when keeping land isopods. Because isopods breathe through specialized gills, they will quickly dry out and perish if their enclosure becomes too dry. However, a soaking wet enclosure with poor air flow will grow deadly mold and smother your bugs.
To achieve the right balance, you must build a moisture gradient inside the bin. Spray one side of the substrate thoroughly with non-chlorinated water until it is damp, while leaving the opposite side mostly dry. This setup allows your isopods to move back and forth to select the exact level of humidity they need.
Managing the Moisture Gradient
- Moisten one side of the tub deeply using a hand spray bottle filled with treated water.
- Keep a layer of damp sphagnum moss on the wet side to hold humidity longer.
- Leave the opposite end dry so isopods can retreat if conditions become overly wet.
- Check moisture levels every few days by touching the substrate with your fingers.
Drilling a row of small holes along the top edge of your plastic tub ensures fresh air exchange. Ventilation prevents stale air and heavy mold blooms while still keeping the internal moisture at safe levels. If the tub dries out too fast, cover a few holes with tape. If condensation coats the walls constantly, add a few more ventilation holes.
What Should You Feed a New Isopod Colony?
While leaf litter and decaying wood make up eighty percent of an isopod's diet, supplemental foods keep the population thriving. Giving your colony extra nutrients encourages rapid breeding and builds strong, hard exoskeletons.
Protein and calcium are essential supplemental foods. Offer small pieces of dried shrimp, fish flakes, or commercial isopod chow once or twice a week. For calcium, keep a piece of cuttlebone in the bin at all times so growing isopods can chew on it whenever they molt.
Fresh vegetable scraps like zucchini, carrots, or squash make excellent treats. Always remove uneaten fresh food after twenty-four hours to prevent unwanted mold and pest infestations. As a key welfare note, always research a specific species' complete care and dietary requirements before buying, as some species require higher protein levels than others to prevent cannibalism.
How Do You Keep Your Isopod Colony Growing Safely?
Once your setup is running, long term maintenance is fast and simple. Inspect the bin once or twice a week to check moisture levels, add fresh leaves, and remove leftover supplemental food. Over time, your colony will increase in number and fill the substrate with natural waste called frass.
Every six to twelve months, a dense colony will need a substrate refresh. Gently scoop out the top layer containing your isopods and leaf litter, replace the old soil at the bottom with fresh substrate, and place your colony back inside. This process prevents waste buildup and keeps the environment clean and healthy.
Pests like grain mites or fungus gnats can occasionally enter your bin. You can easily control these pests by avoiding overfeeding, keeping ventilation good, and removing spoiled food quickly. Keeping the dry side of your moisture gradient truly dry also deters pest insects from taking over.
Final Thoughts
Building a vibrant bioactive environment is a rewarding process for any exotic pet parent. When you start an isopod colony with proper moisture, plenty of leaf litter, and a solid calcium source, your tiny herd will flourish for years to come. Take time to explore our other RarePetCare guides to learn more about creating natural habitats for all your favorite exotic animals.
Frequently Asked Questions
How long does it take for an isopod colony to reproduce?
Most beginner isopod species start reproducing within four to eight weeks after settling into a new habitat. Population growth speeds up significantly once the first batch of juveniles reaches adulthood.
Can different isopod species live together in the same bin?
It is best to keep only one isopod species per bin. Stronger or faster-breeding species will eventually outcompete the slower species for food and resources.
How often do you need to mist an isopod enclosure?
Most keepers mist the damp side of the enclosure every two to three days. The exact frequency depends on room humidity and how fast the substrate dries out.
Do isopods need lighting or heat lamps?
Isopods do not need special lighting or direct heat lamps, as ambient room light and normal indoor temperatures are sufficient. Direct sunlight can dangerously overheat small plastic enclosures.
Explore More Invertebrates Guides
 🕷️Invertebrates
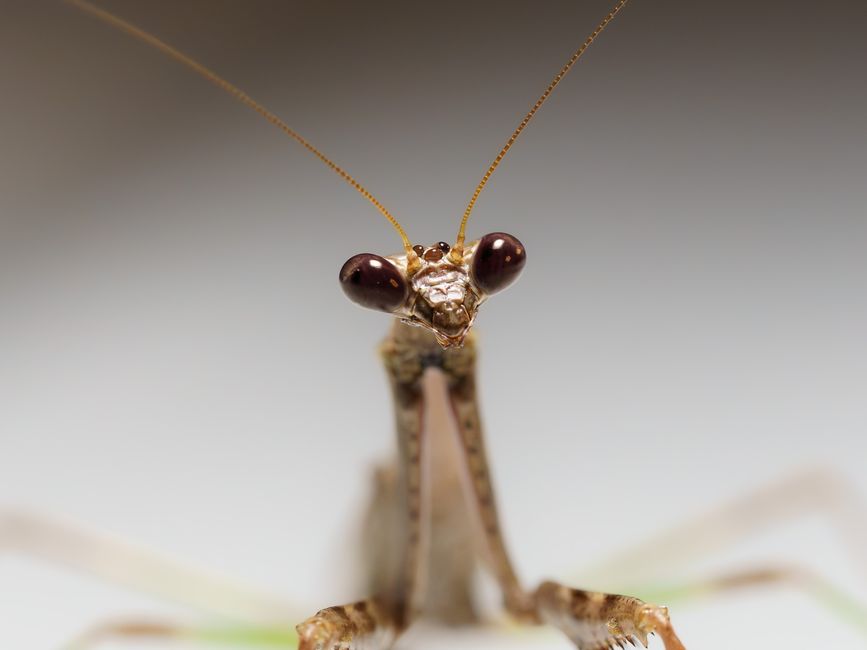
Praying Mantis Not Eating? Key Causes and Fixes
Discover why your praying mantis is refusing food, how to spot premolt signs, and what you can do to get them eating safely again.
 🕷️Invertebrates
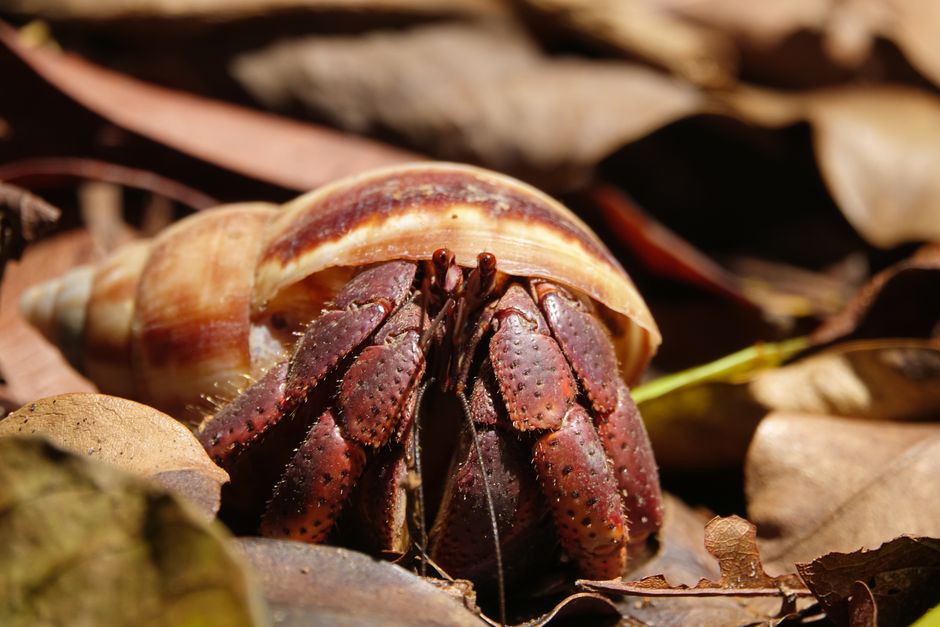
Why Is My Hermit Crab Buried? Key Reasons
Learn why hermit crabs bury themselves in the substrate, how to tell if they are molting, and why you should never dig them up.
 🕷️Invertebrates
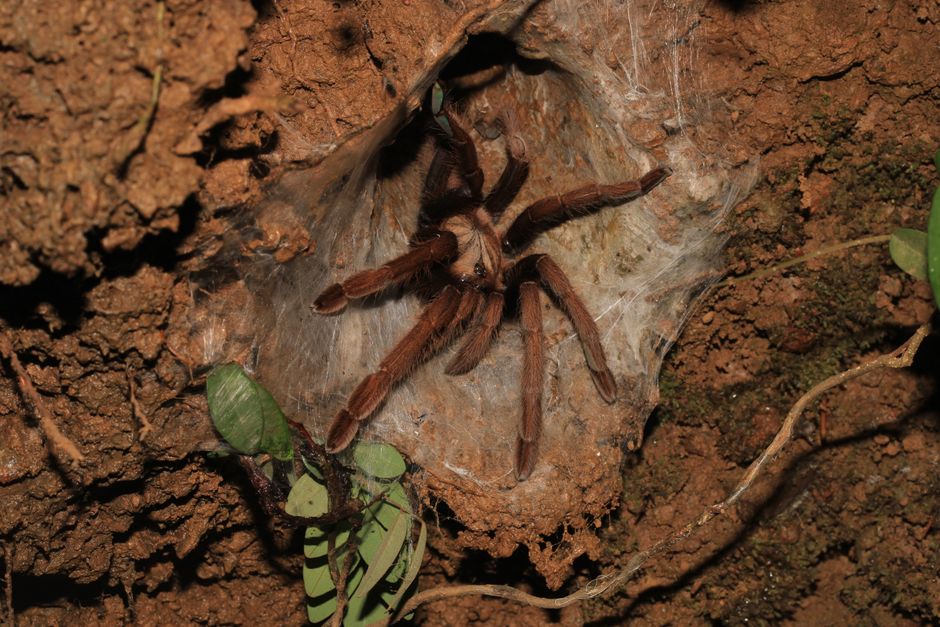
Why Is My Tarantula on Its Back? Molting vs Dying
A tarantula on its back is almost always preparing to molt. Learn how to tell molting from illness and how to keep your pet safe.